HOWTO: GIF Animations with The GIMP
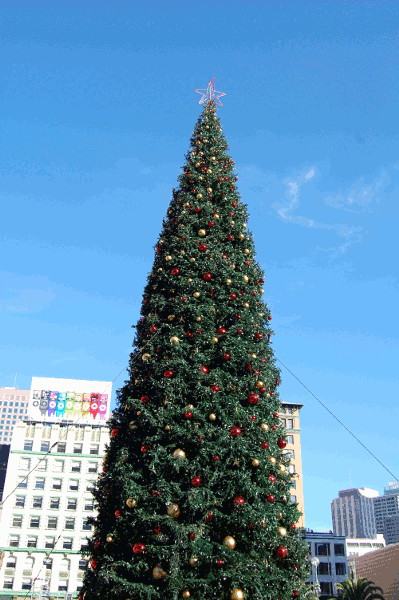
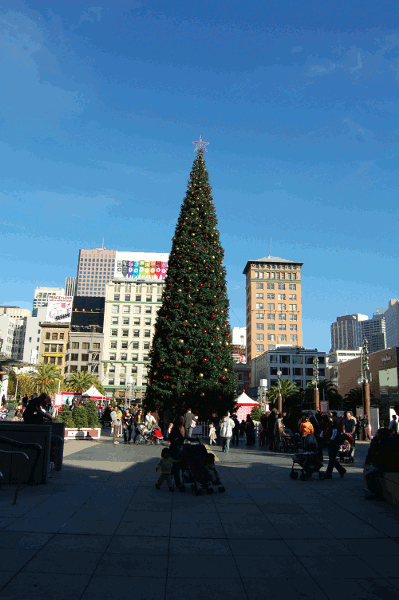
Today, we went out to Union Square in San Francisco and armed with my camera and a distant memory of rotating Egyptian pyramids, I decided I would try to put together a GIF animation of the Christmas Tree. What I did then was to take about 15 pictures each from 2 feet apart moving around the big Christmas Tree. This is the result:
HOWTO: Creating GIF Animations with The GIMP
1. First take your set of pictures or get them all in one folder.
2. Open up The GIMP, go to File, Open as Layers...
3. Select your set of photos by clicking the first one then holding down the shift key and clicking the last one and click Open. The GIMP will start importing your files in order as seperate layers of the image.
4. Resize your image by choosing Image, Scale Image from the menu and choose a reasonable size. For the web, I max the width out at 800 and the height at 600. The GIMP will be default link the height and width of the image so it'll still look right. Click Ok to do apply the resize.
5. The last step is to export the image as a GIF. Choose Save as... from the File menu. In the Save Image dialog box, near the Save button a dropdown field says All Image. Change that to "GIF image (*.gif)" and click Save.
6. Next choose "Save as animation" and click Export.
7. You can leave the options in the next window as their defaults or you can change the speed of animation.
Voila! You now have a GIF animation combining all your images together. If some of the images are out of order, you can go back and reorder the layers of the image and redo the export.
If you create a GIF animation by following this HOWTO, please add a comment below linking to your GIF animation. If you need ideas, try a stop motion animation of a Christmas Garden Gnome or take pictures of yourself from different angles or on different days.
Finally if you have any questions, feel free to ask.
posted by David at
7:28 PM
![]()
![]()

2 Comments:
Hey,
thank you for that easy How To...
Looks very easy and understandable...
Is it possible to make it look more like a fade effect??
Do you know something about this?
Greetz from Germany
Rob
By Rob, At
10/15/09 11:43 PM
Rob, At
10/15/09 11:43 PM
Thanks for the tutorial. I create GIF images or animated pictures using web based tools.
By joy, At
10/31/09 3:47 PM
joy, At
10/31/09 3:47 PM
Post a Comment
<< Home